

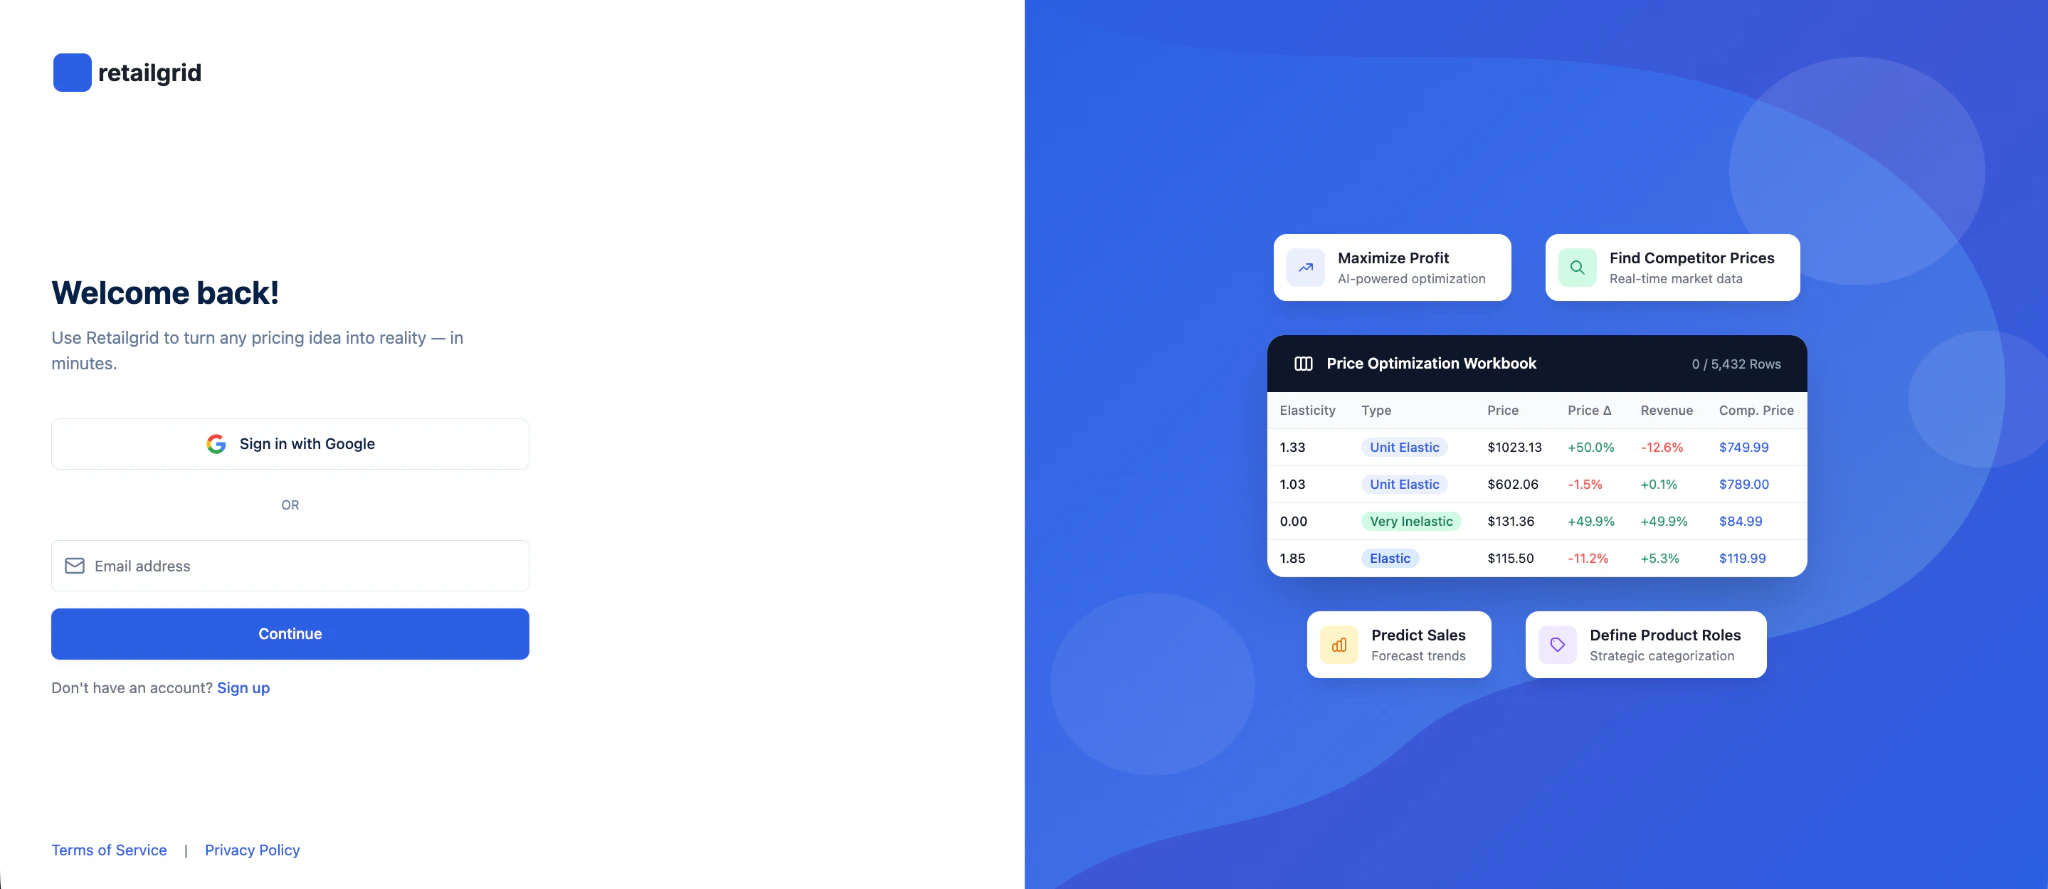
Step 1. Create your account
- Go to retailgrid.io
- Click Sign in with Google (recommended)
or enter your email and continue. - Complete authentication.
Sign up
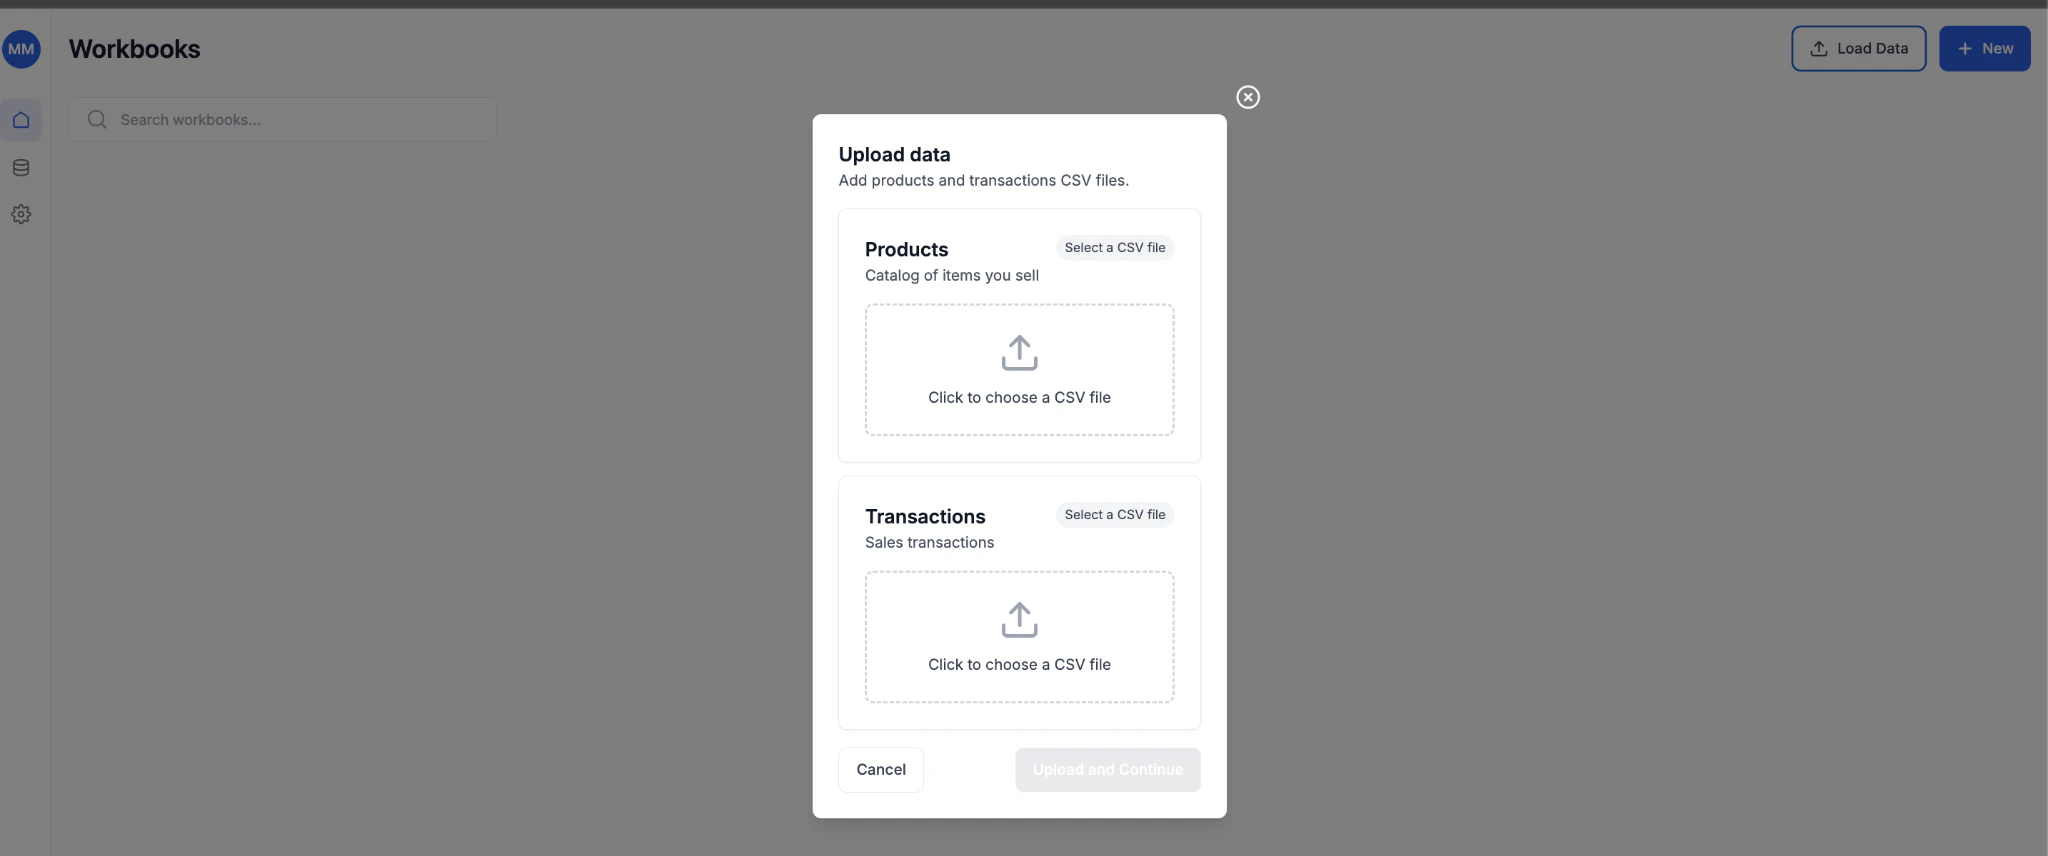
Step 2. Click “Load data”
From the top-right corner:- Click Load Data
- The Upload Data modal will open
- Products (required)
- Transactions (optional but recommended for analytics)
Load data
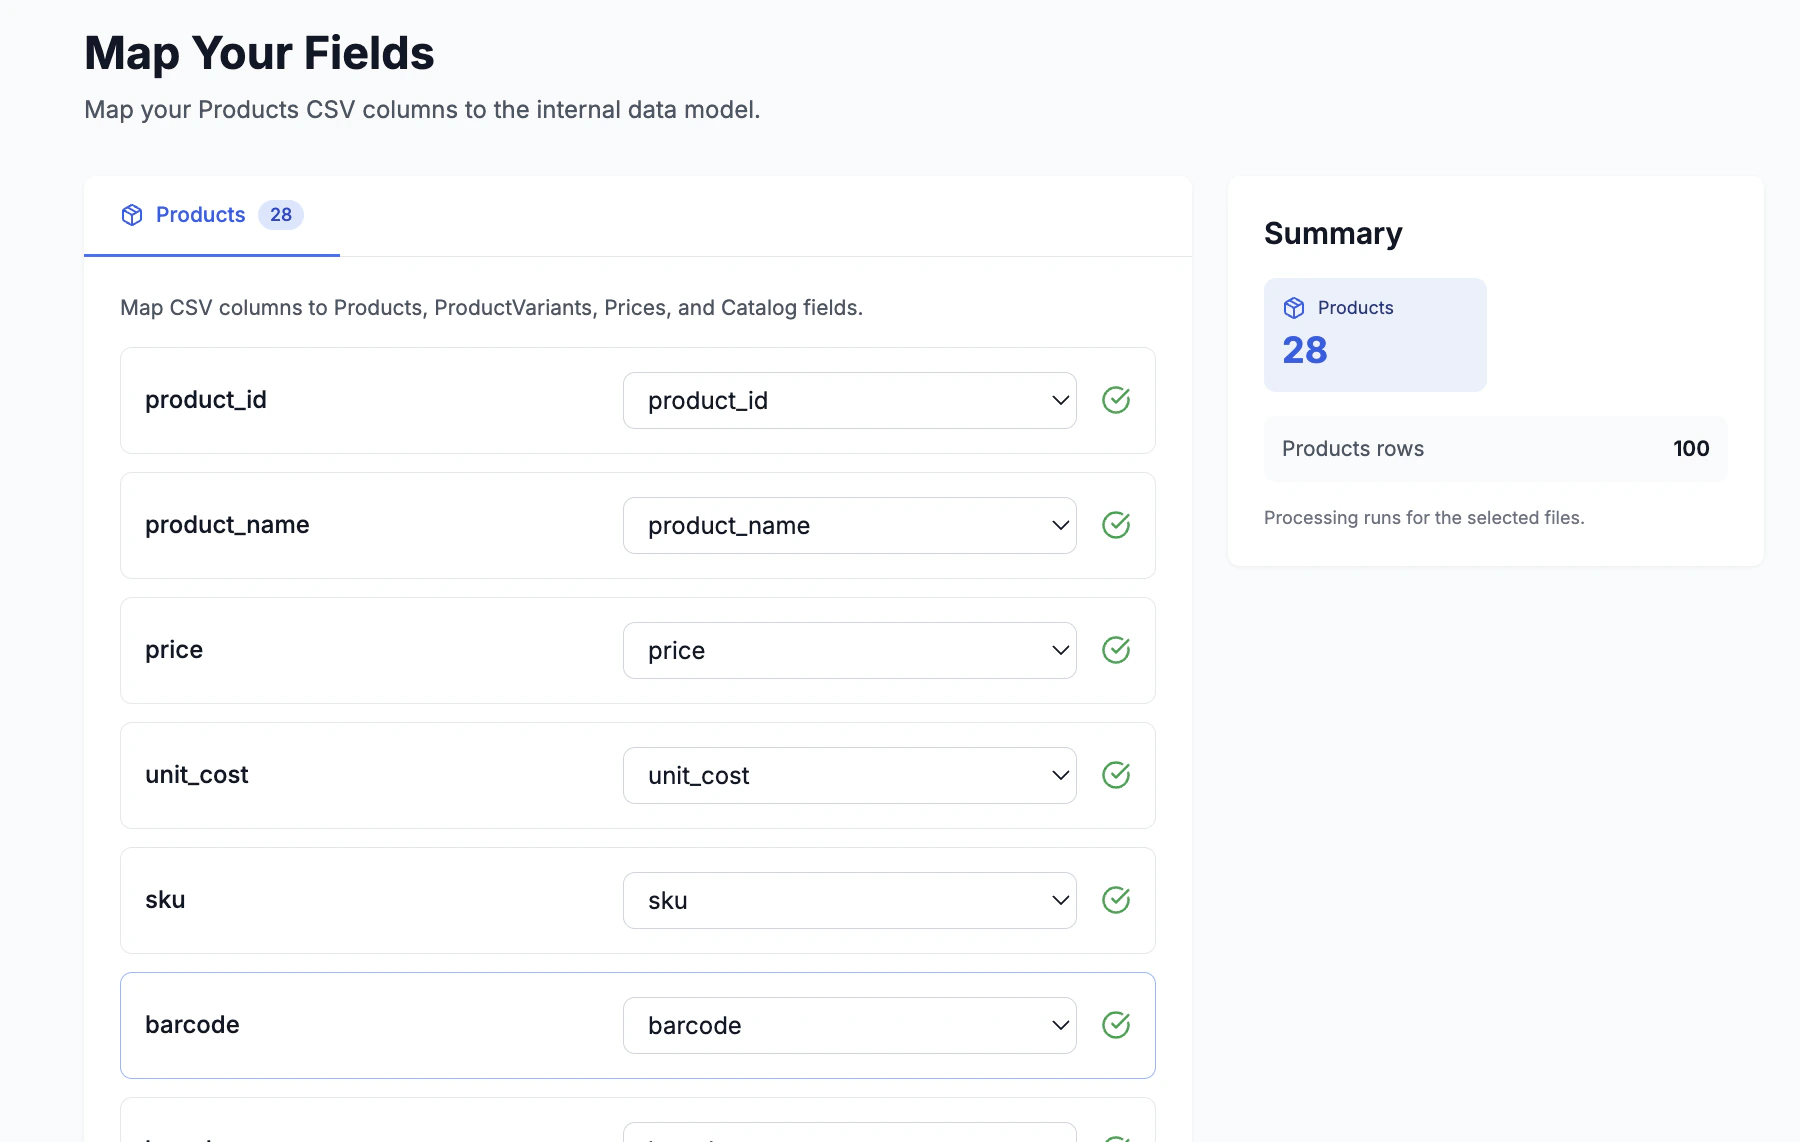
Step 3. Select your CSV file
Upload your Products CSV file. Before uploading, ensure your file follows RetailGrid data requirements:👉 https://docs.retailgrid.io/Products
Minimum required fields
product_idproduct_namepriceunit_costsku(recommended)barcode(optional but useful)
Step 4. Match your data to RetailGrid schema
You’ll enter the Map Your Fields screen. Here you:- Match your CSV column names to RetailGrid fields
- Confirm required fields are correctly mapped
- Validate data (green check = valid mapping)
- Products
- Product Variants
- Prices
- Catalog attributes (brand, manufacturer, product group, status, etc.)
Map your data
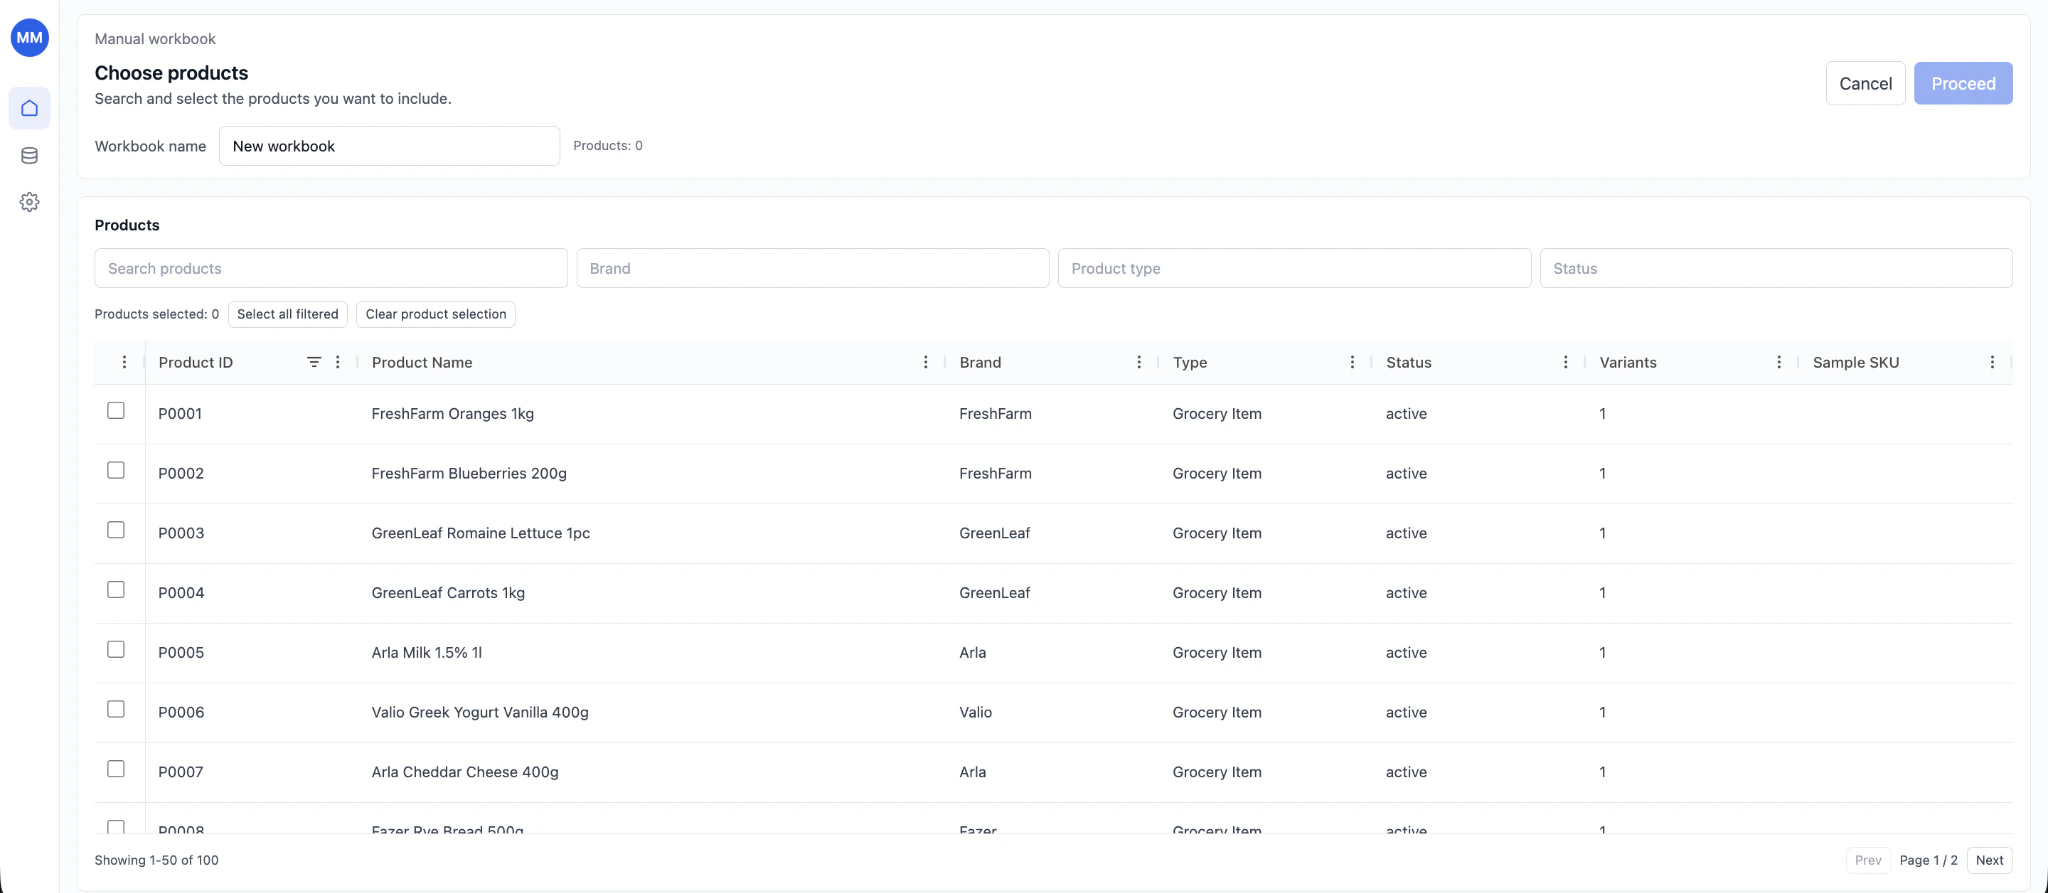
Step 5. Name your first grid and select products
After processing:- Enter a Grid Name (e.g., “March Pricing Test”)
- Select the products you want included:
- Filter by brand, type, status
- Select all or specific SKUs
- Click Proceed
Name your first grid and select products
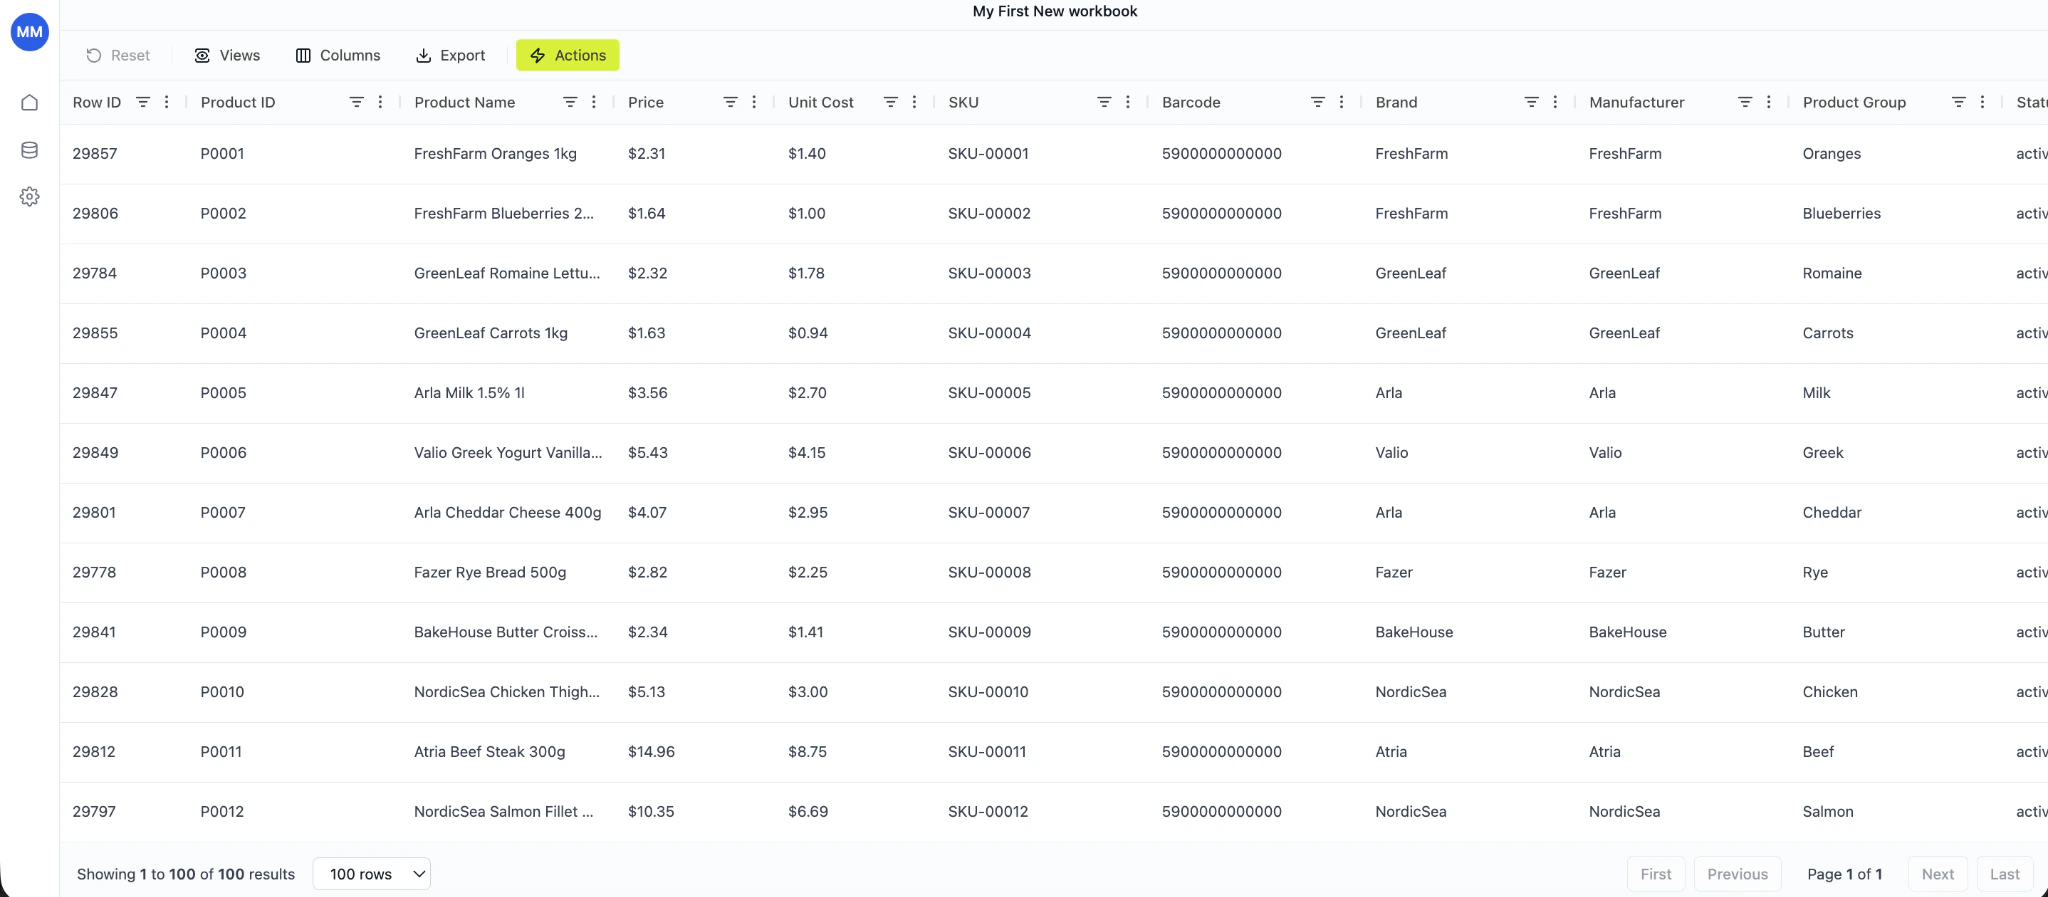
Step 6. Your grid is created 🎉
Your Grid opens in grid view. You can now:- Filter and sort products
- Edit prices
- Add calculated columns
- Apply rules
- Run pricing actions
- Export results
- Define product roles
- Run price optimization
- Analyze margins
- Model scenarios
- Track performance
Your grid is created 🎉
What’s next?
To unlock full pricing capabilities:- Upload Transactions CSV for sales analytics
- Add competitor data
- Configure pricing rules
- Use AI-powered optimization